Copper Repoussé
This summer I took 2 courses taught by Aimie Botelho up at Ness creek. These were 3 or 4 day courses over the weekend. Ness creek is good location for these as there is tons of equipment up there and free camping.
The axe making course was great fun but very hard and hot work, and I ended up with a very nice axe that works well.
The second course was a beginners repoussé course, which intimidated me quite a bit as I am not at all artistic. I wanted to do a dragonfly but thought it would be too difficult for a person with 2 left hands. Aimie convinced me to do the dragonfly.
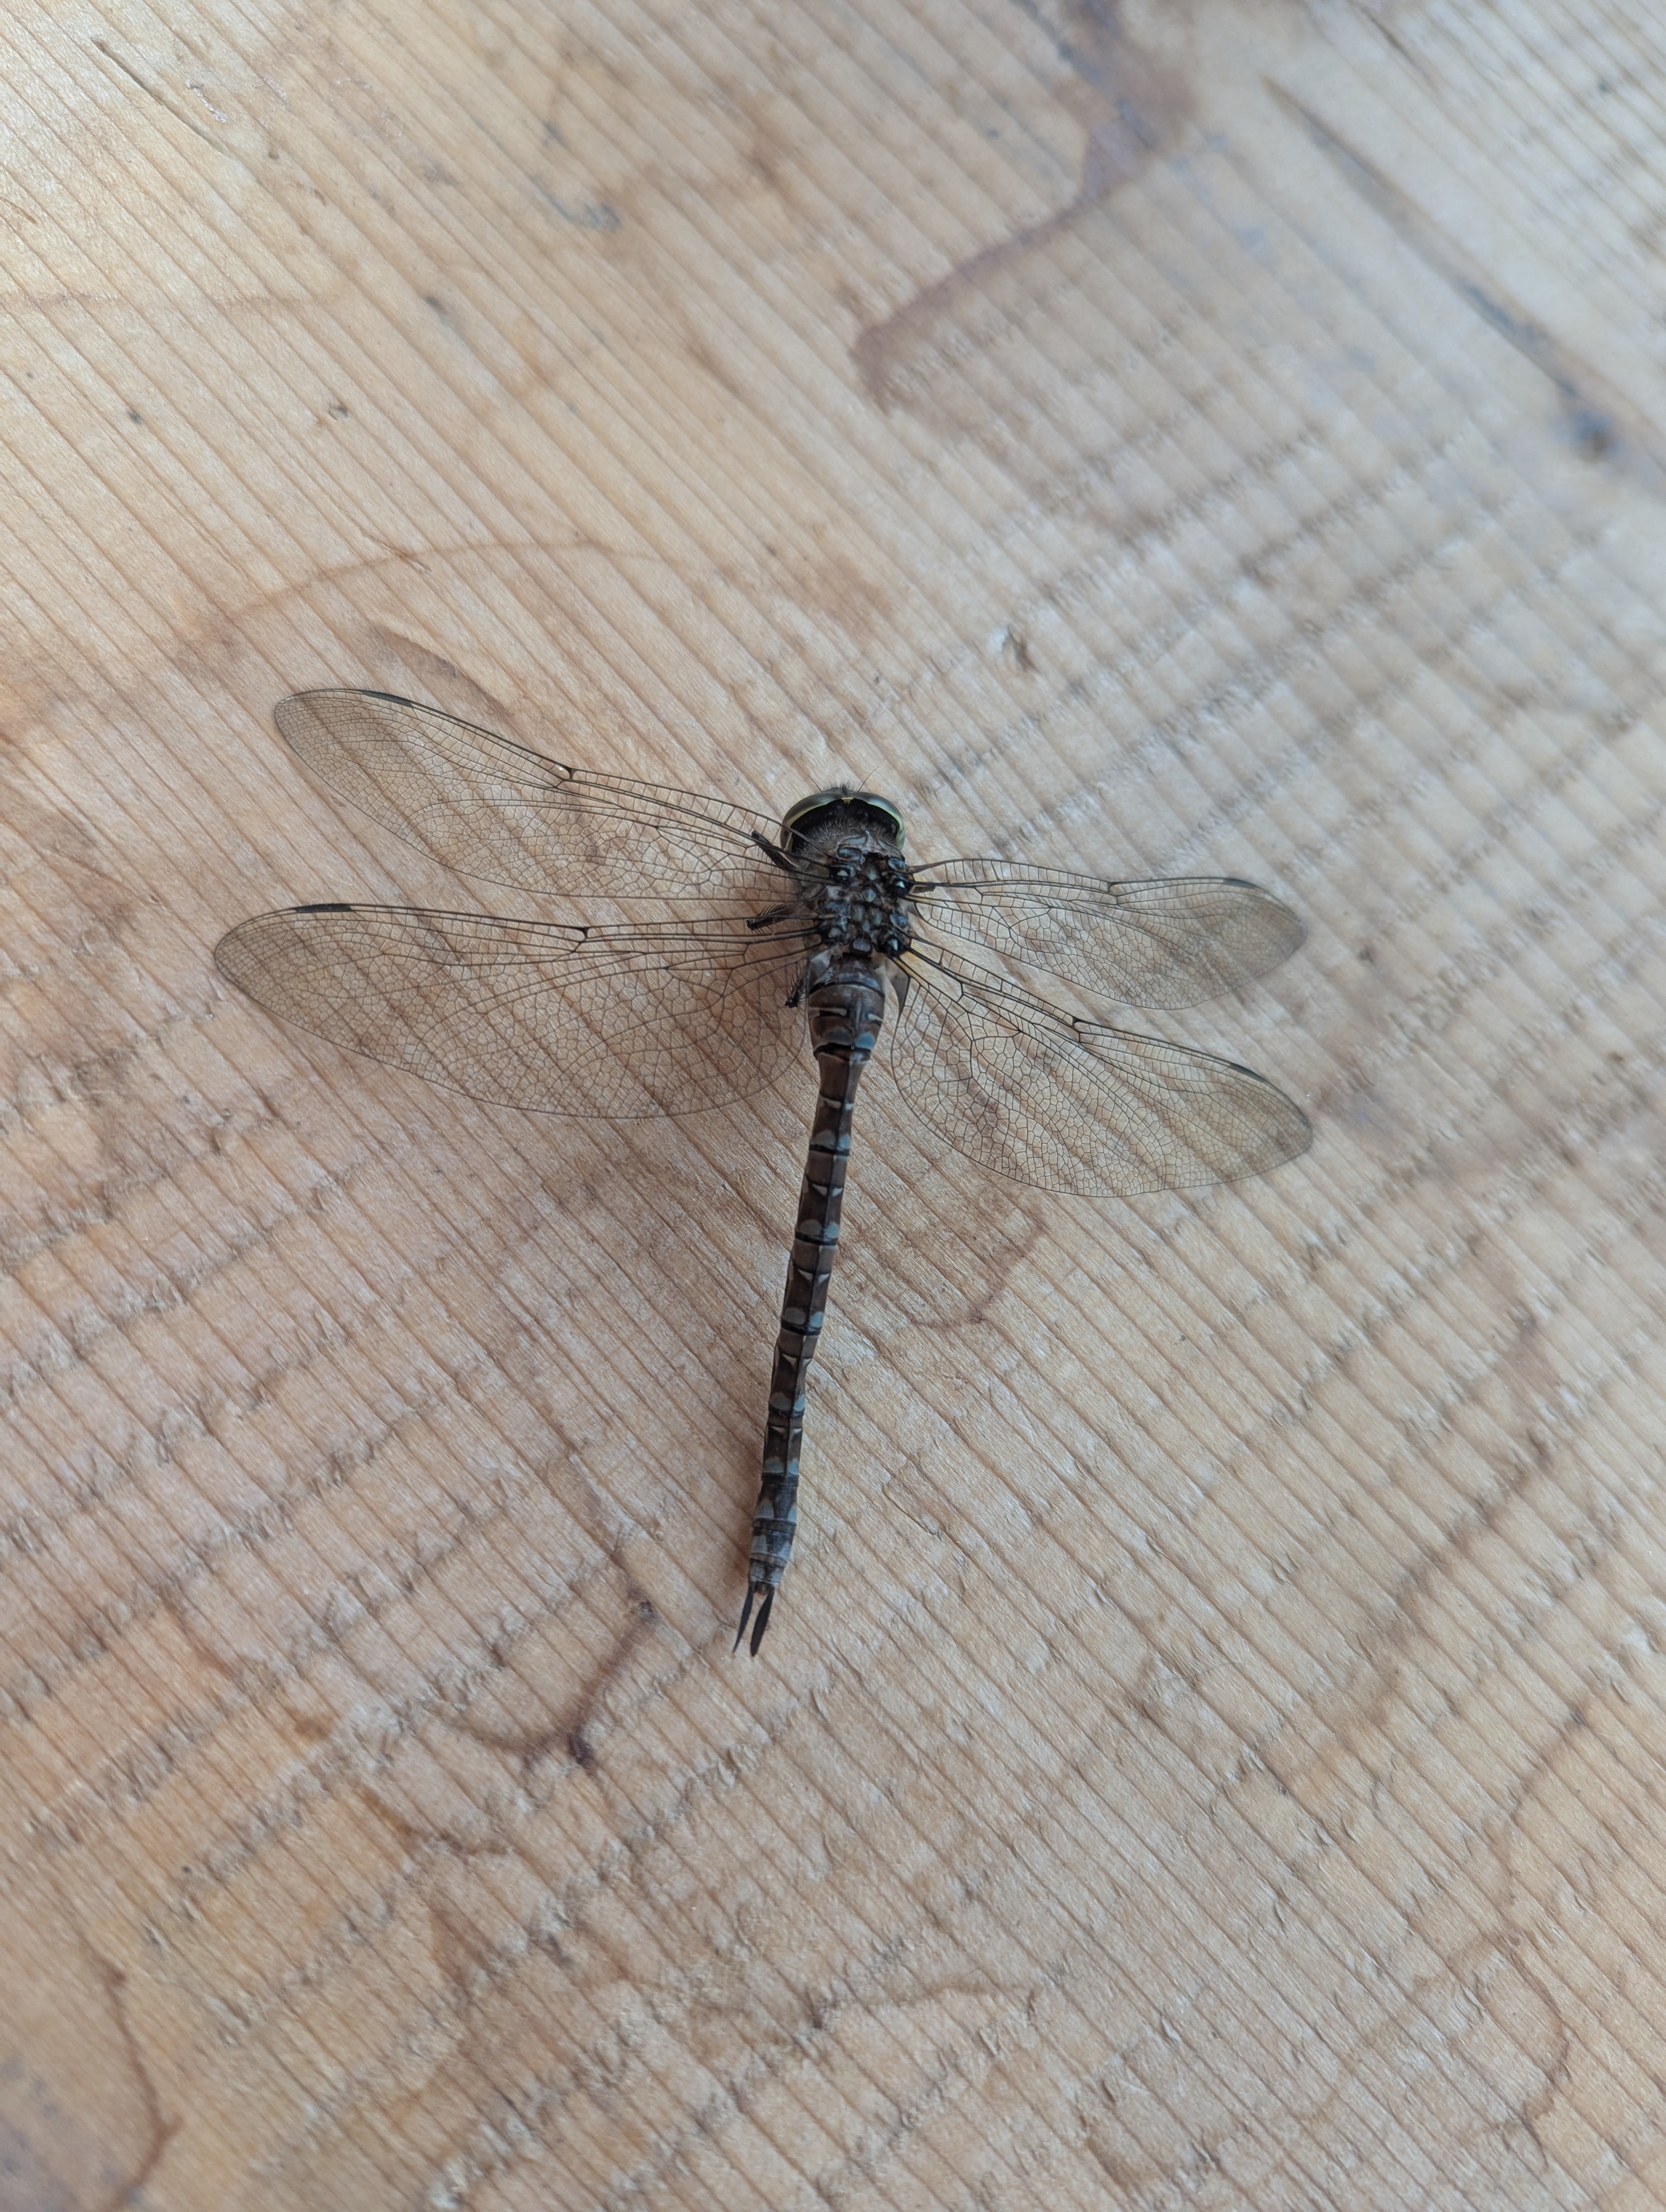
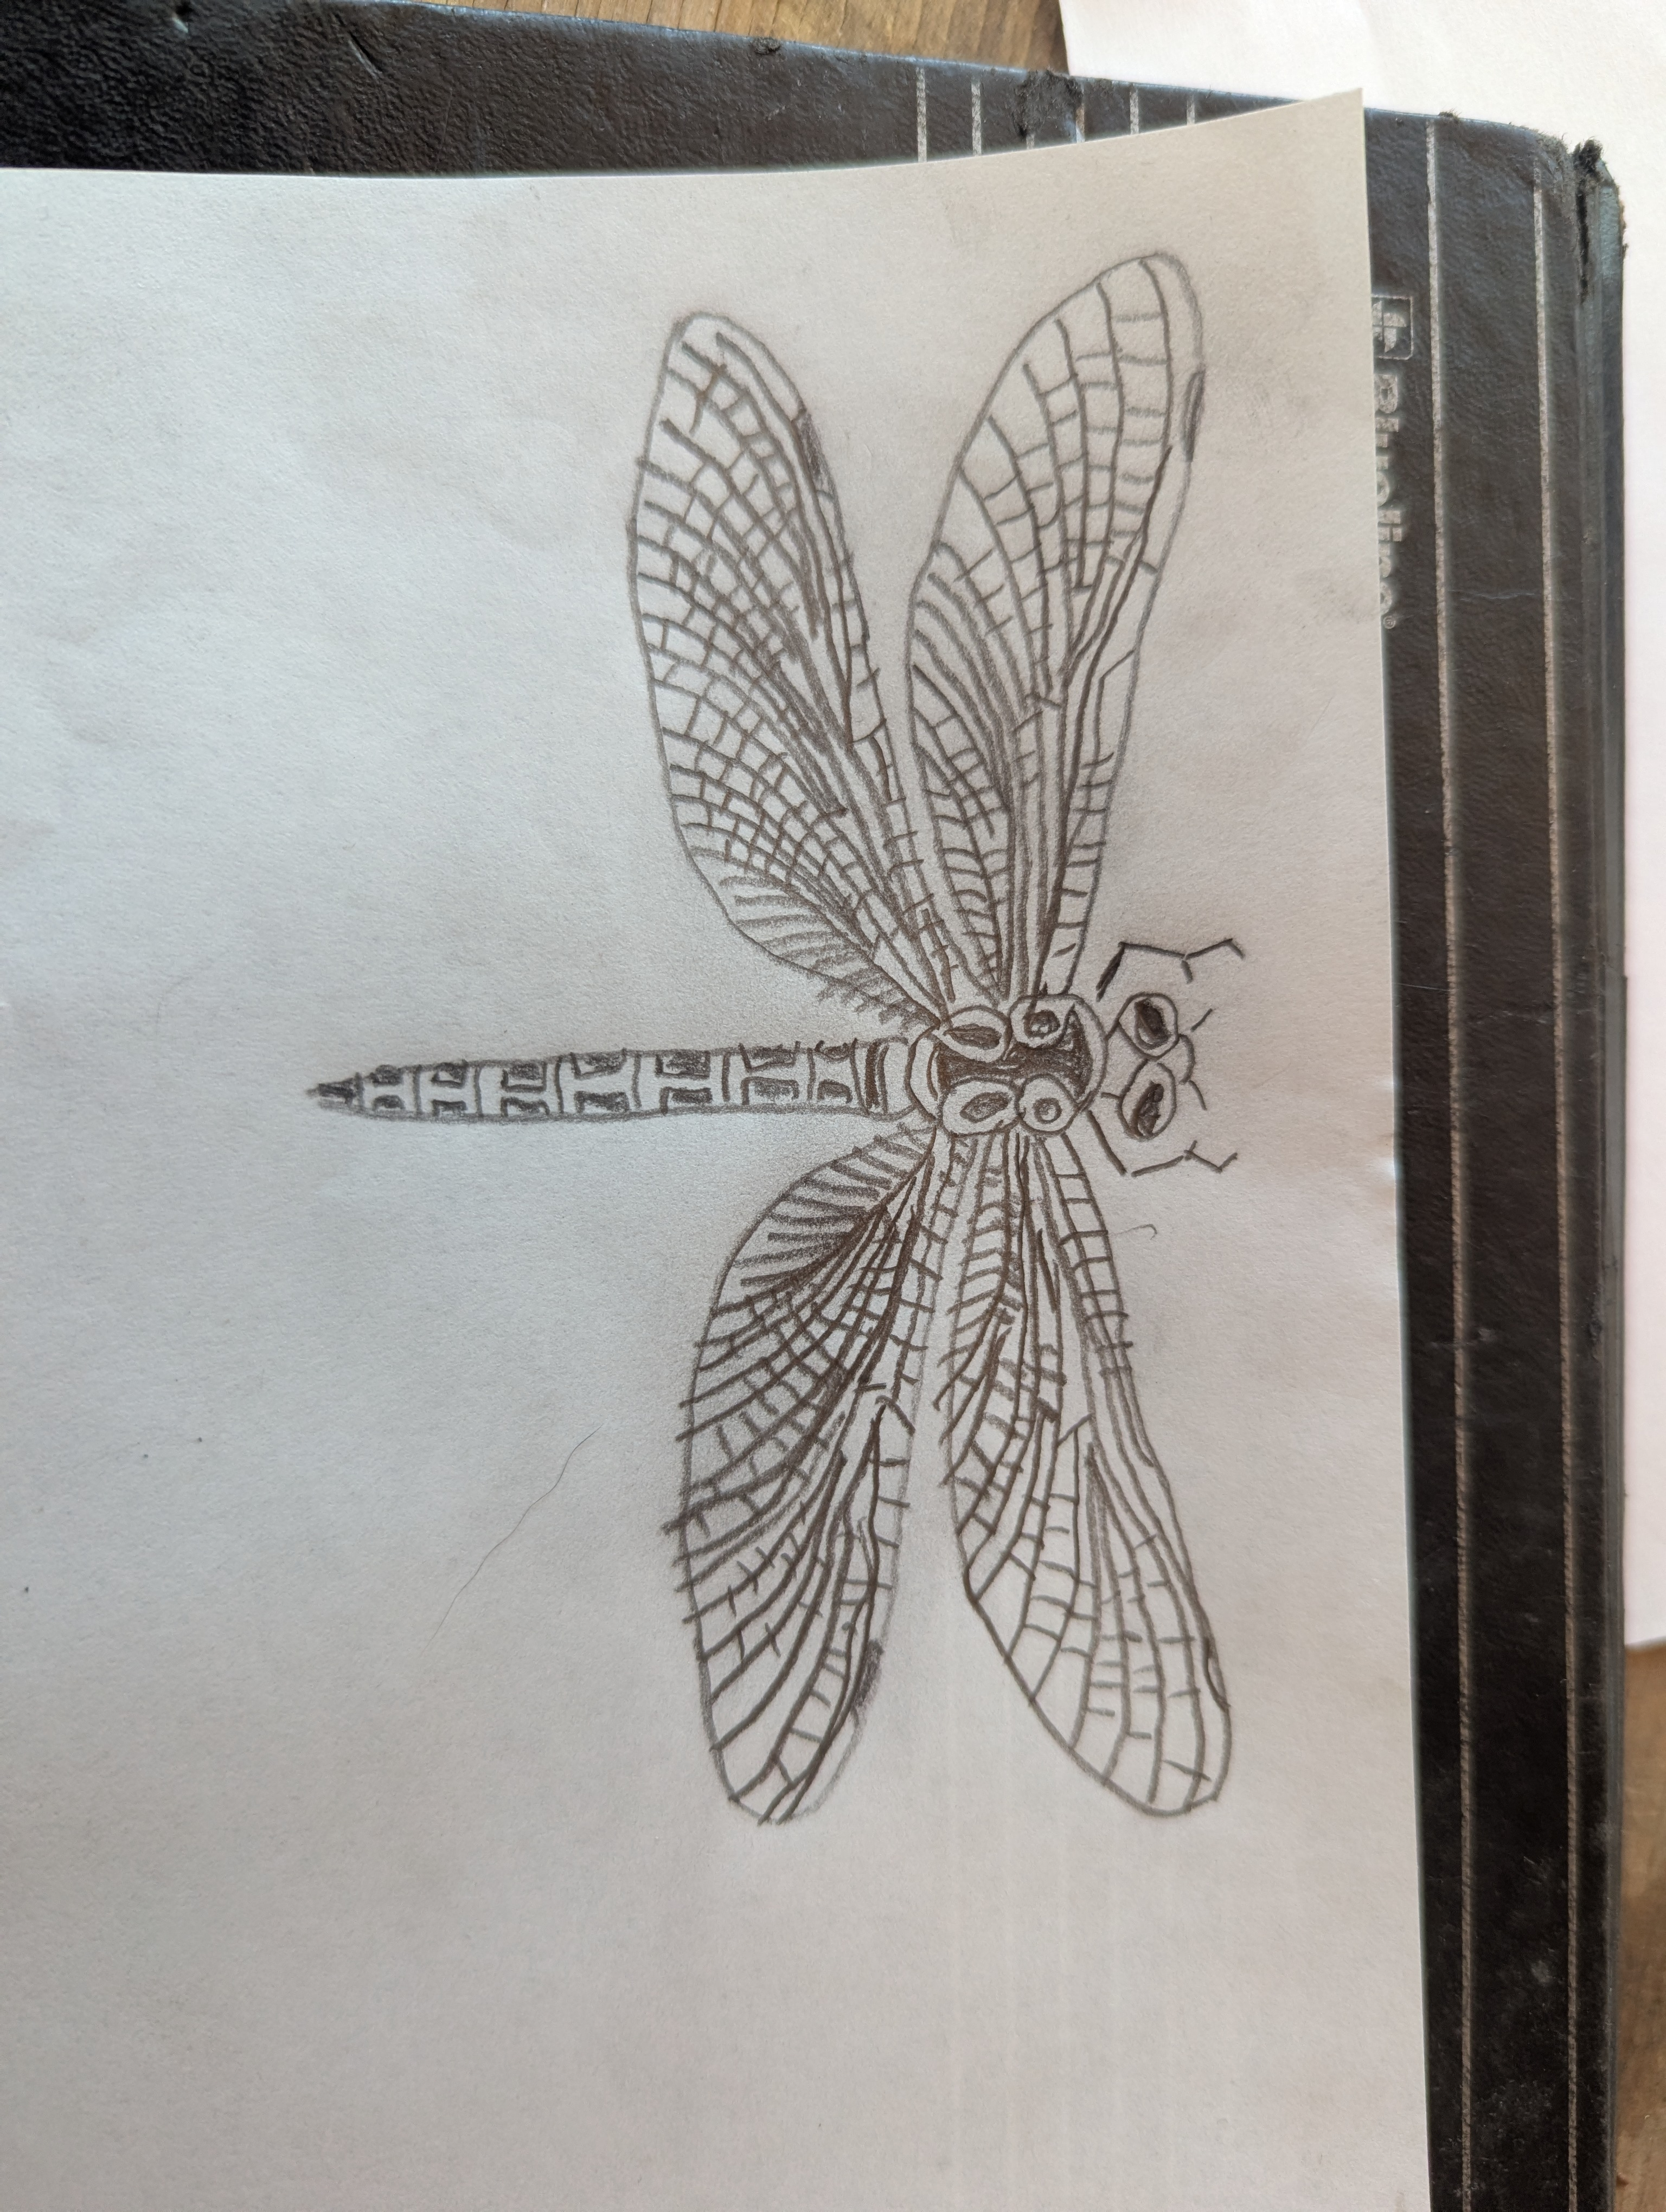
The first step of the course was to setup our image. I had a stock drawing of a dragonfly and a live example. From this we produced our drawings. We needed 2 copies since we would destroy one during the process, by gluing it to the copper sheet.
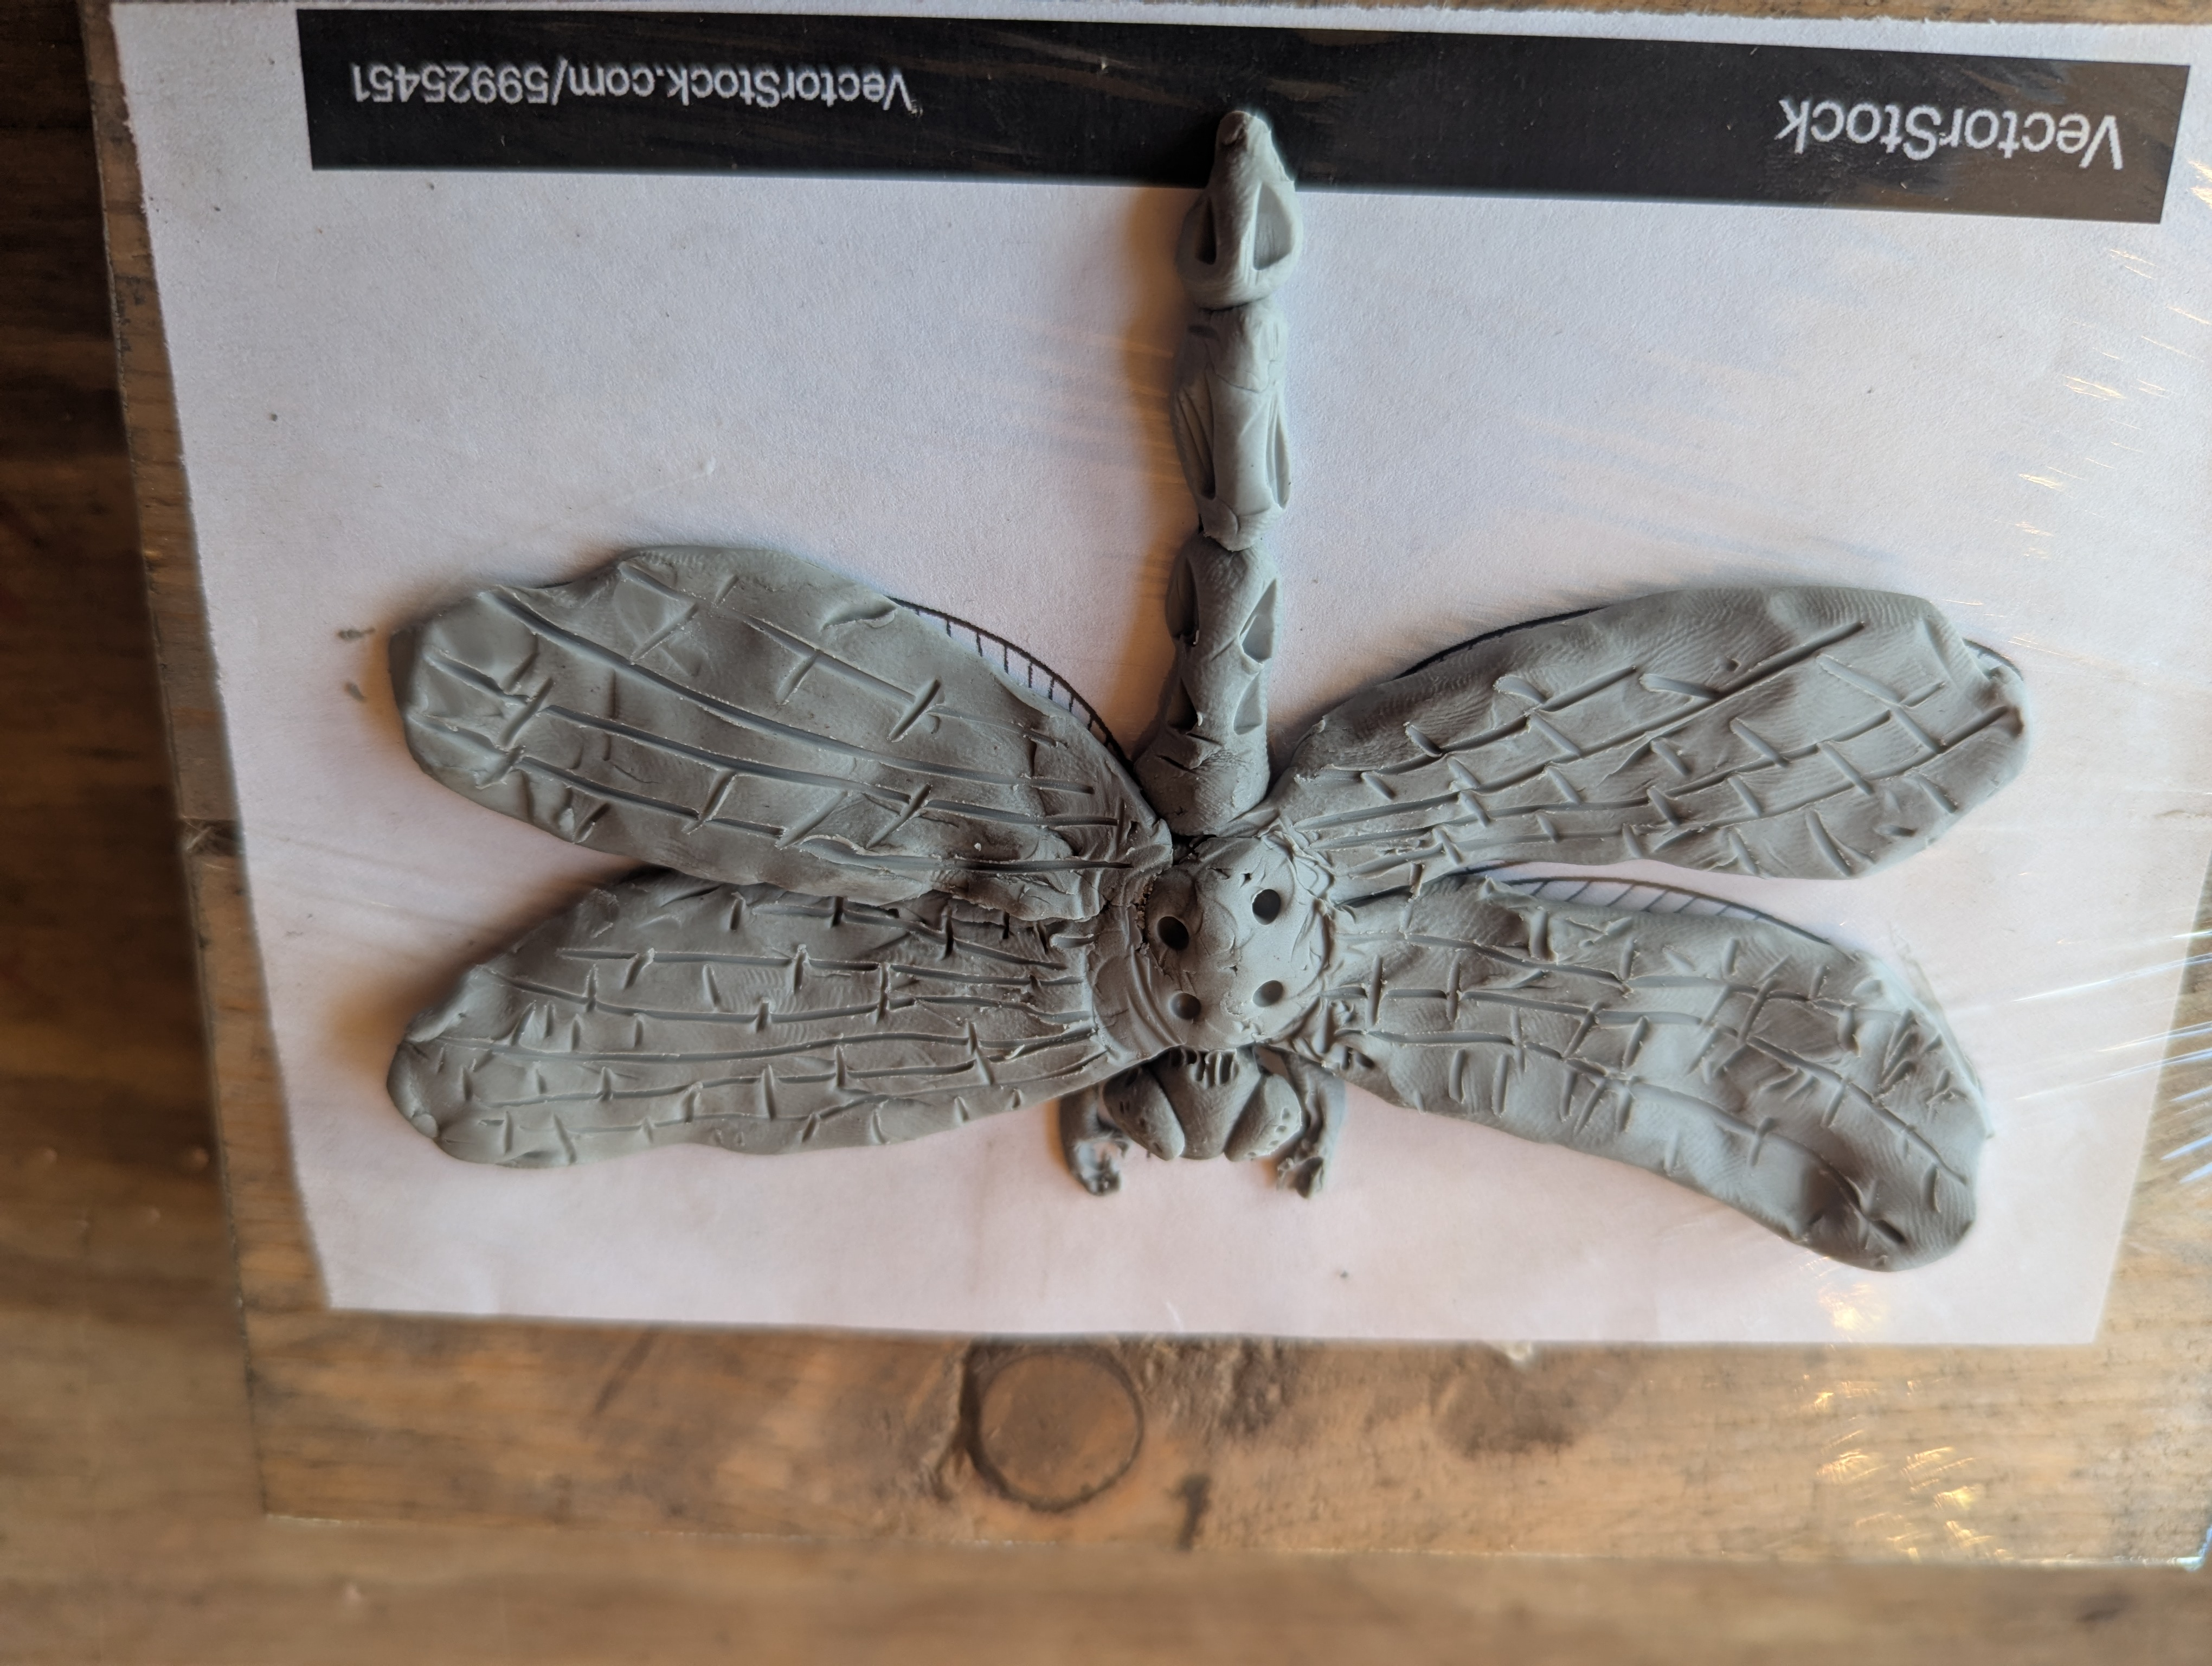
Next we used plasticine to model the 3rd dimension from the drawing. The direction from Aimie was not to worry about making it perfect, the point was just to figure out the levels. Mine is far from perfect, but I did spend some time trying different positions of the wings. I think that wings need to have some curve and twists so it looks more organic, and not like an airplane or an ornithopter from dune.
Next we moved on to the copper. Working with copper is a bit different from working with steel. You need to anneal it, quench it and then work it cold. You get about 1 pass with the tools before it work hardens and you need to anneal it again. We all got quite handy with the tiger torch.
The actual forming of the copper is done with a variety of tools. Aimie had provided everything we needed. All the basic punches, a hammer, a frame full of pitch and a silicone sheet.
The pitch we are using is "german red pitch" which doesn't smell as bad as black pitch when heated. Which is good because you need to heat it often.
The punches are all hand forged by Aimie from mild steel. Which is more than good enough for working in copper. Aimie also took time, in the evening after class, to show us how to forge all the different tools.
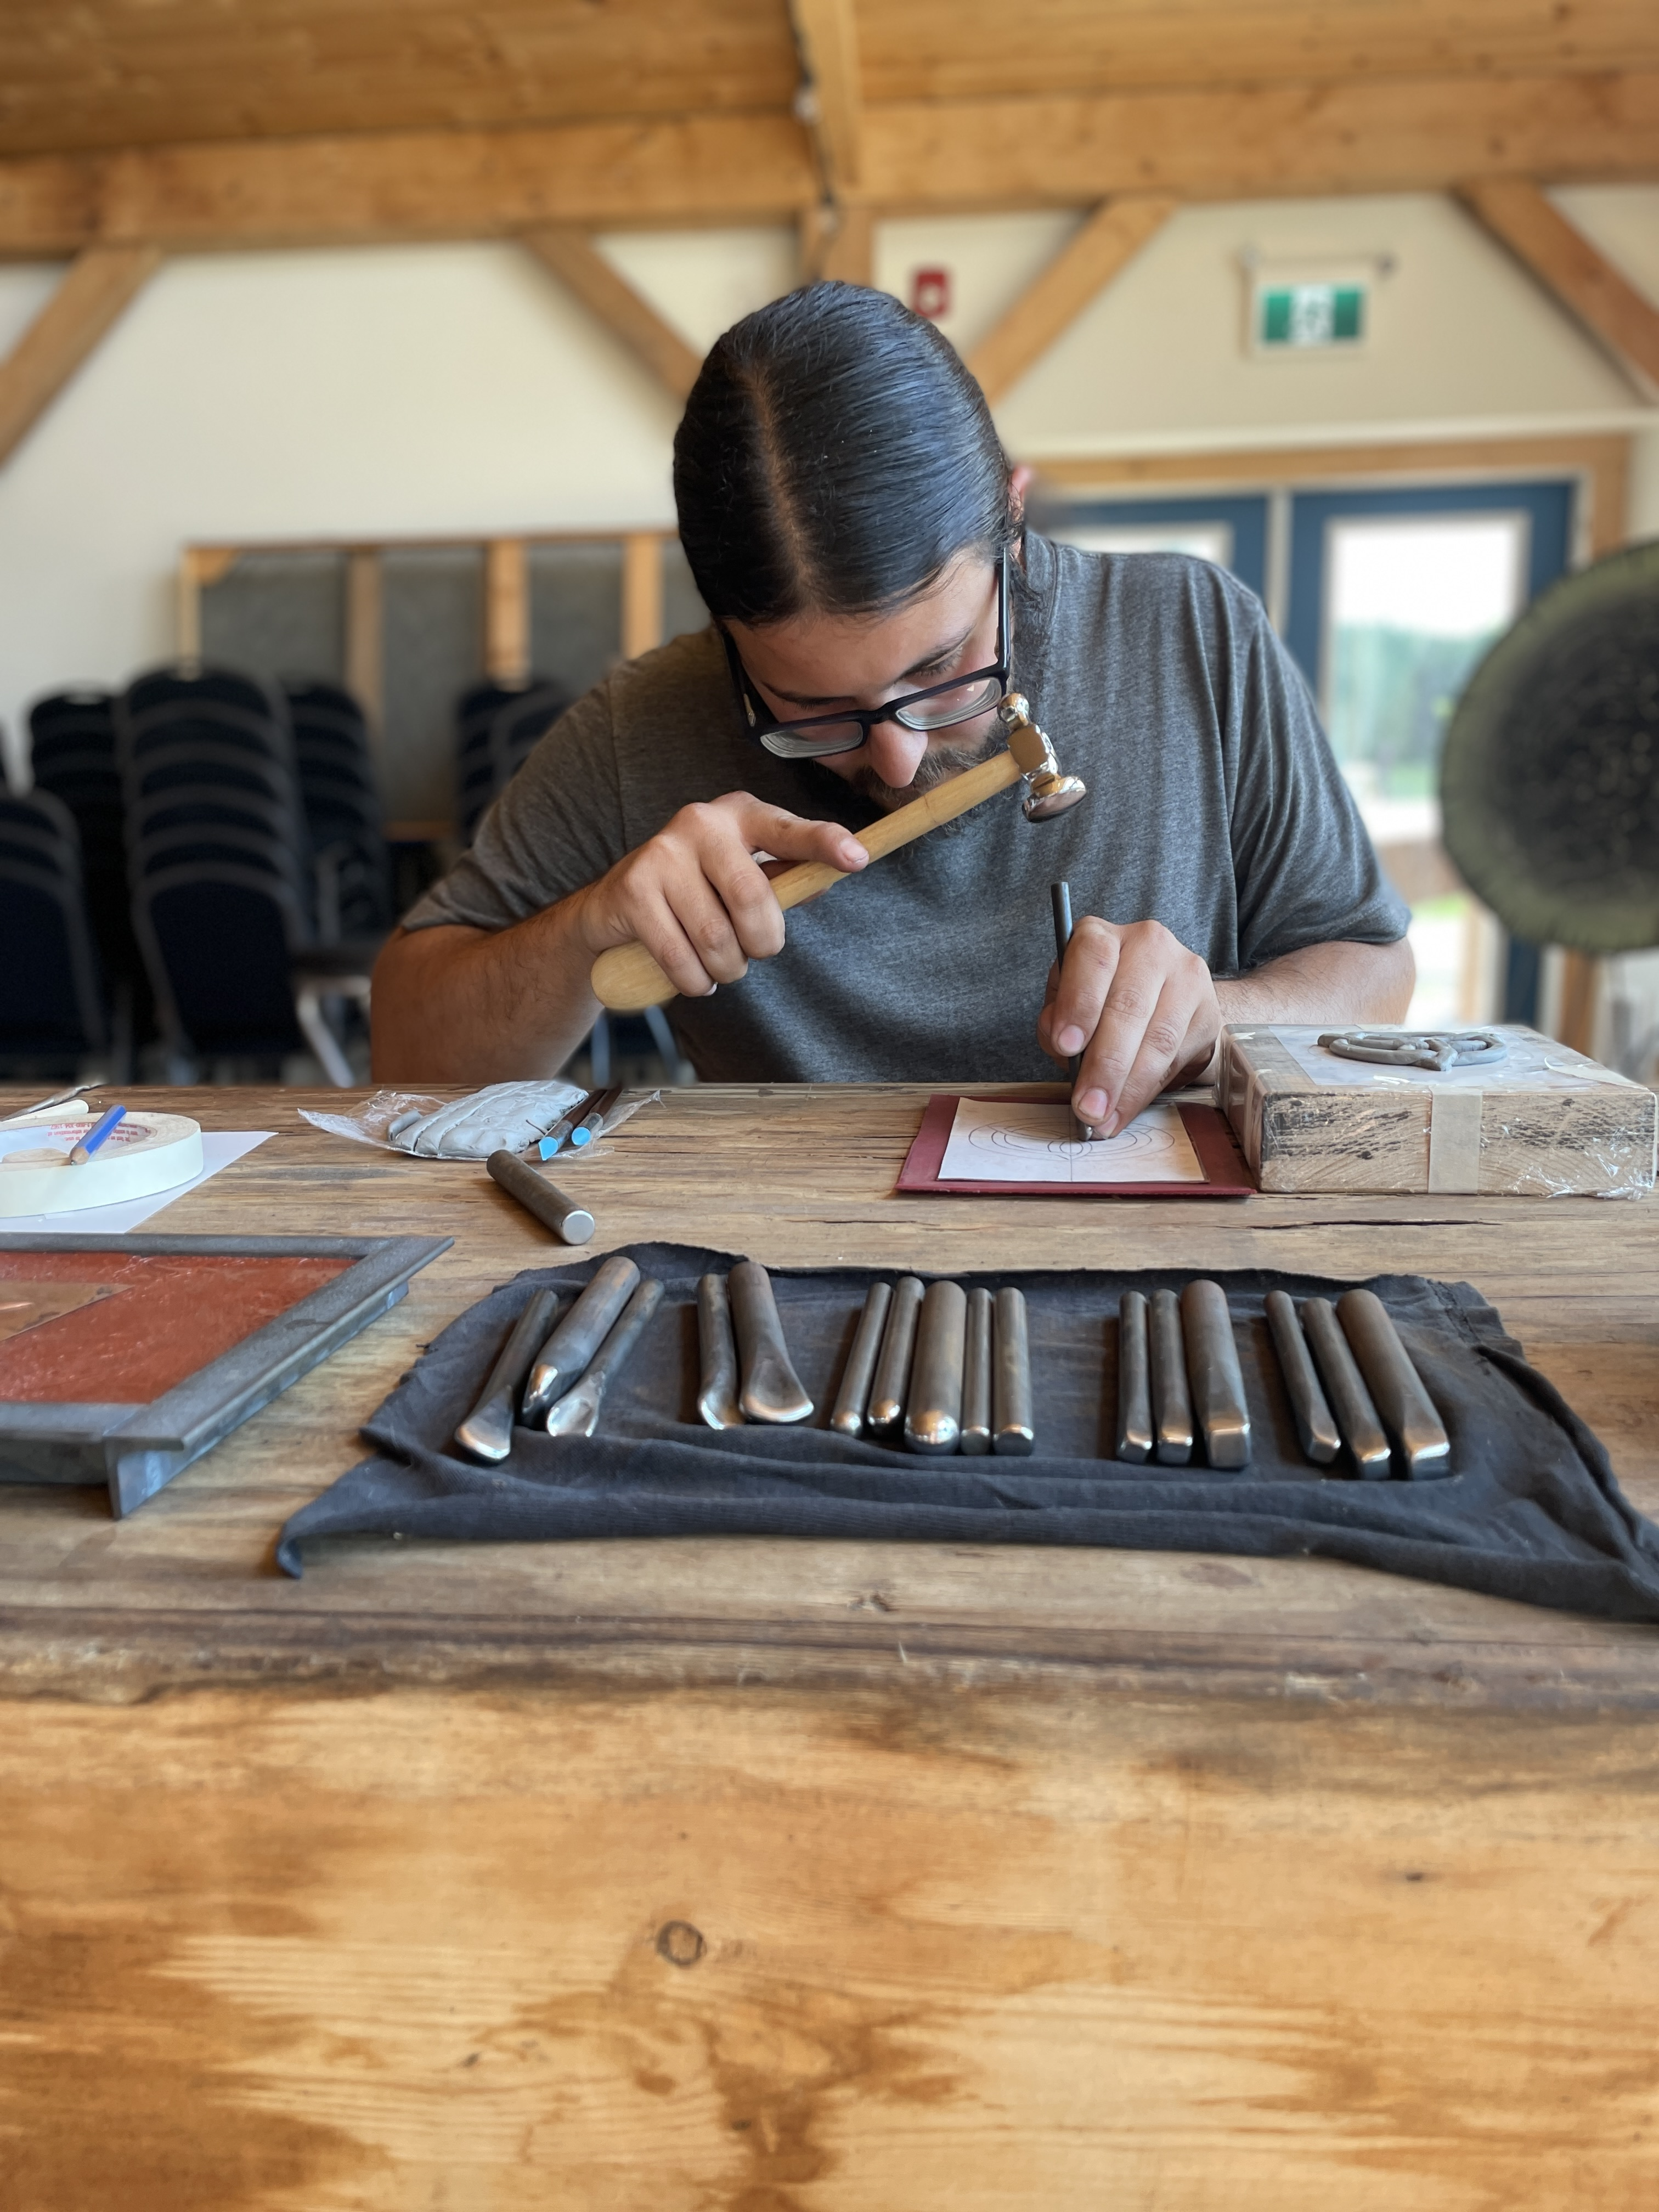
After the first annealing we glued the copy of our image to the front of the copper with spray adhesive. Next we used one of the chasing tools to follow the outline of the drawing, not worrying about the details. This was done on a silicone sheet, not on the pitch.
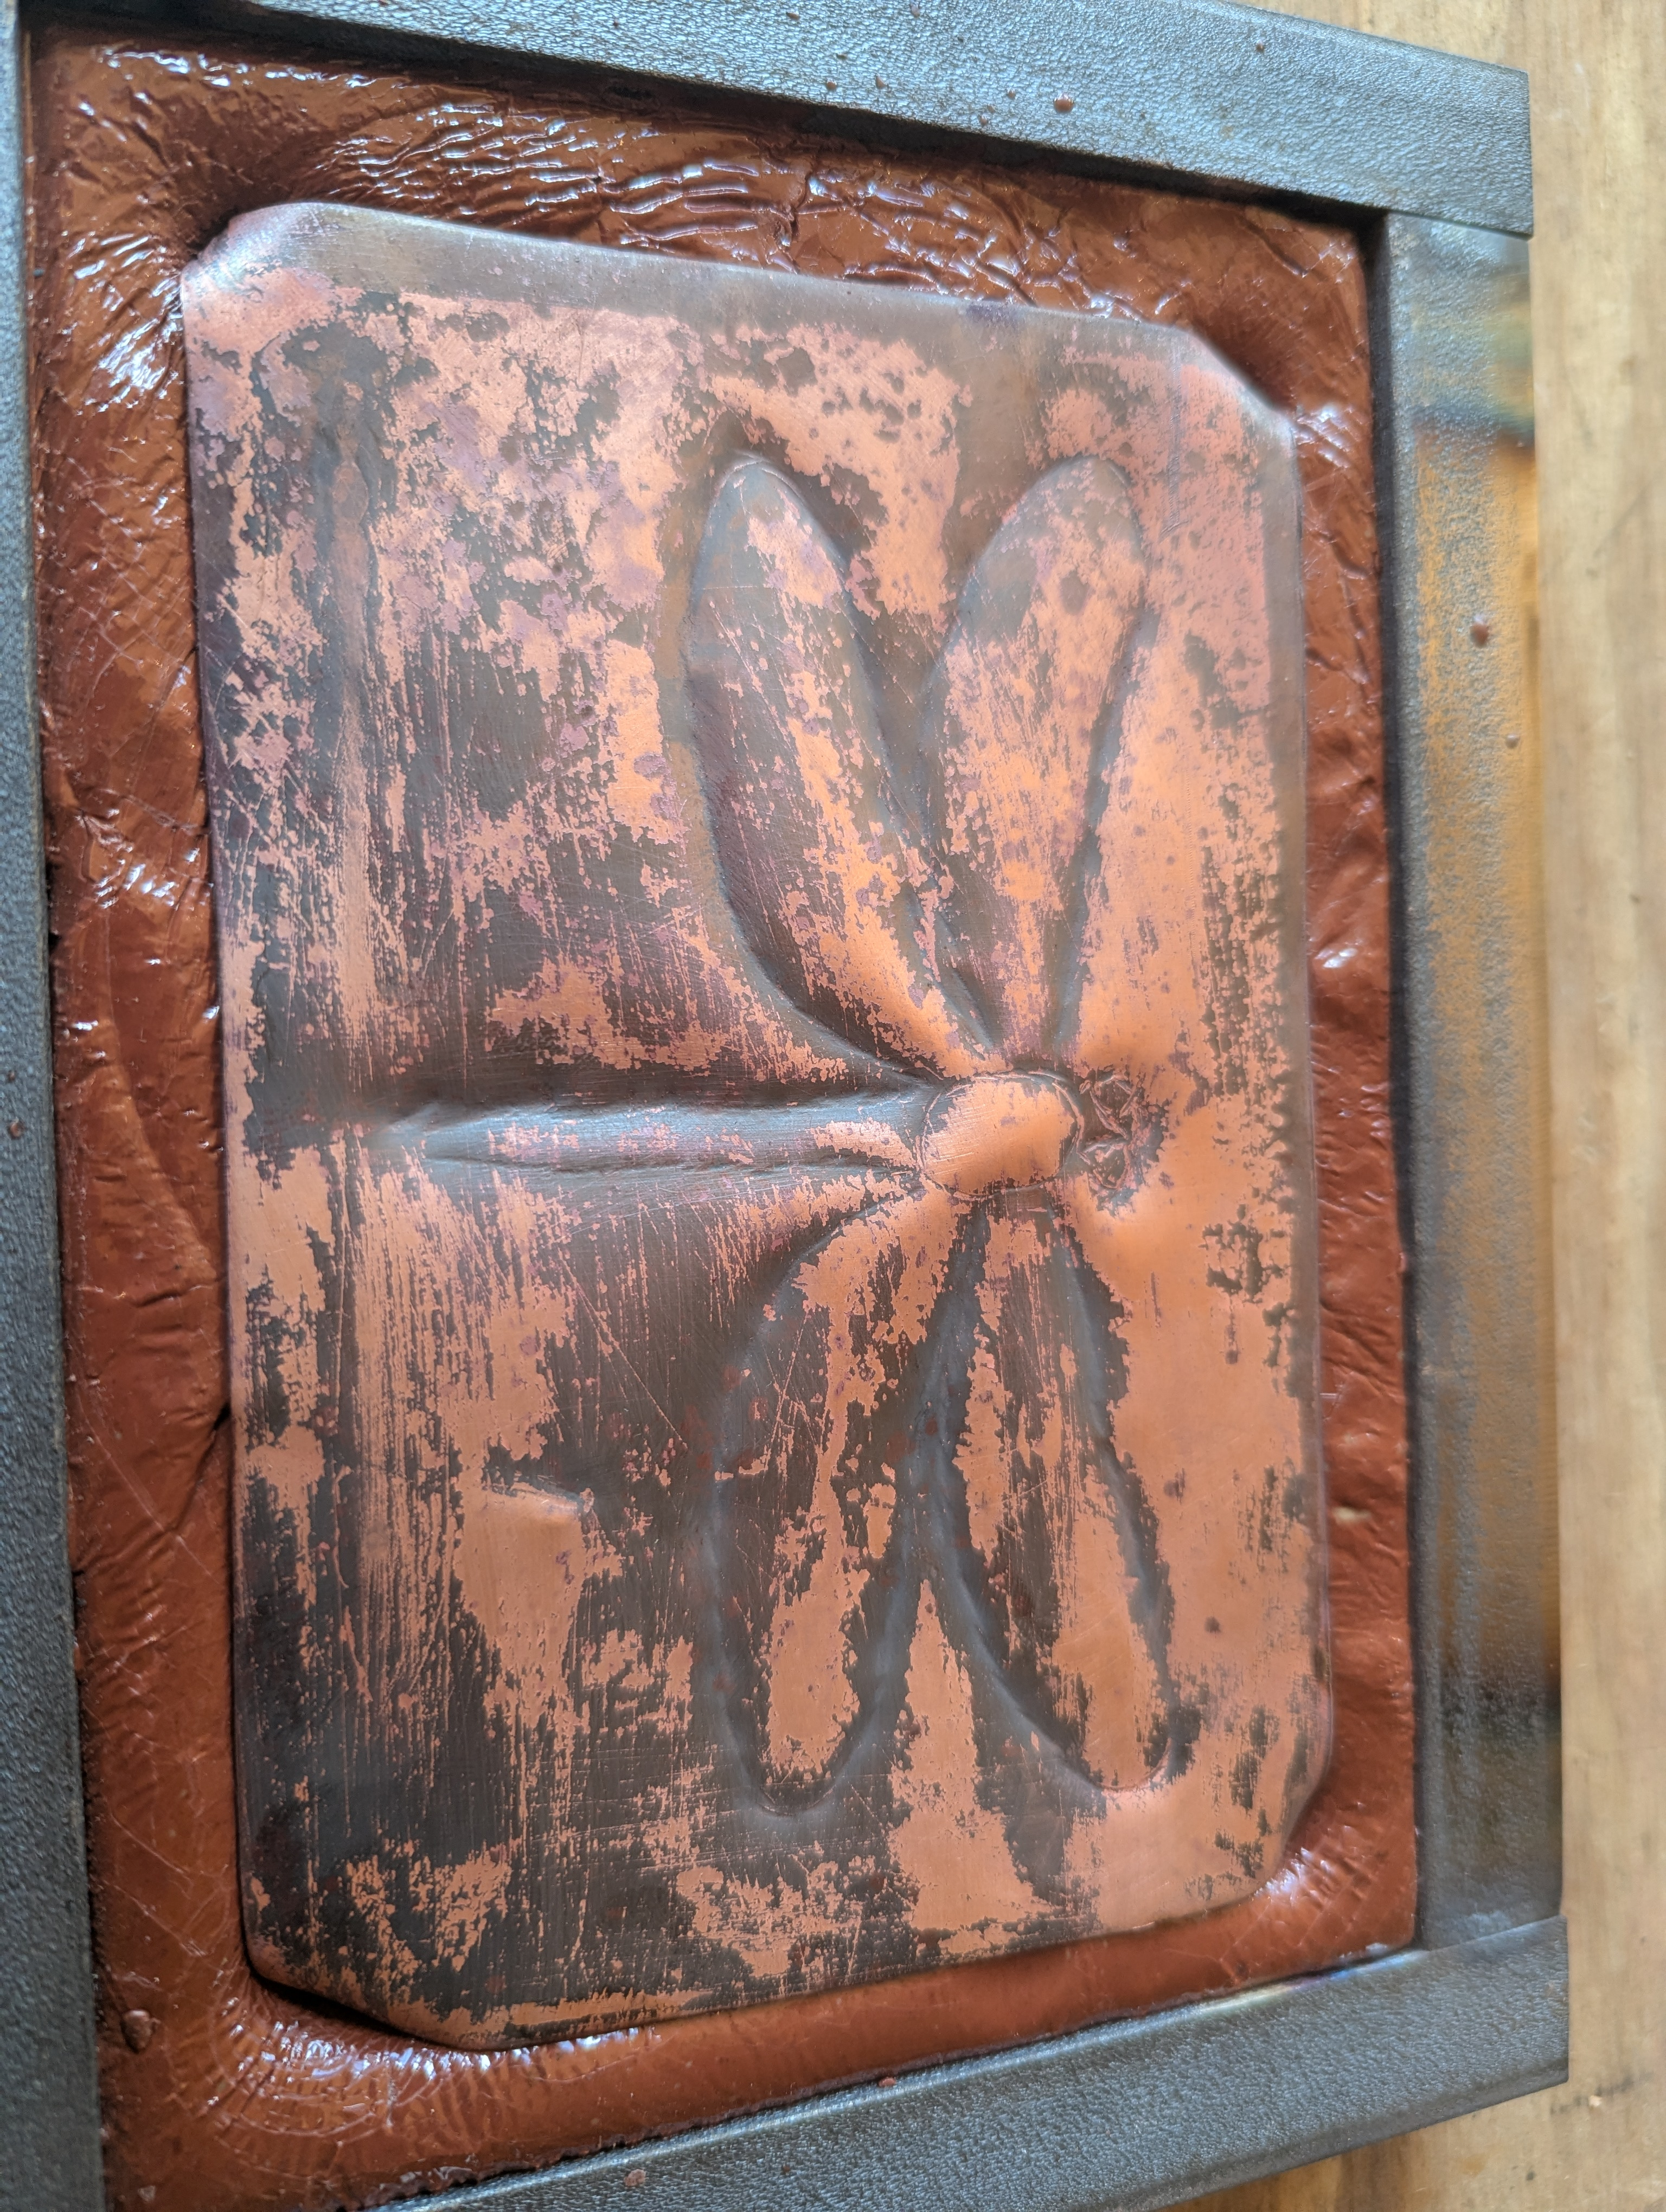
After outlining, the copper is embedded in the softened pitch and we use a butchering tool to move the edge of the outline away from the main body of the drawing. That is followed up by planishing the background
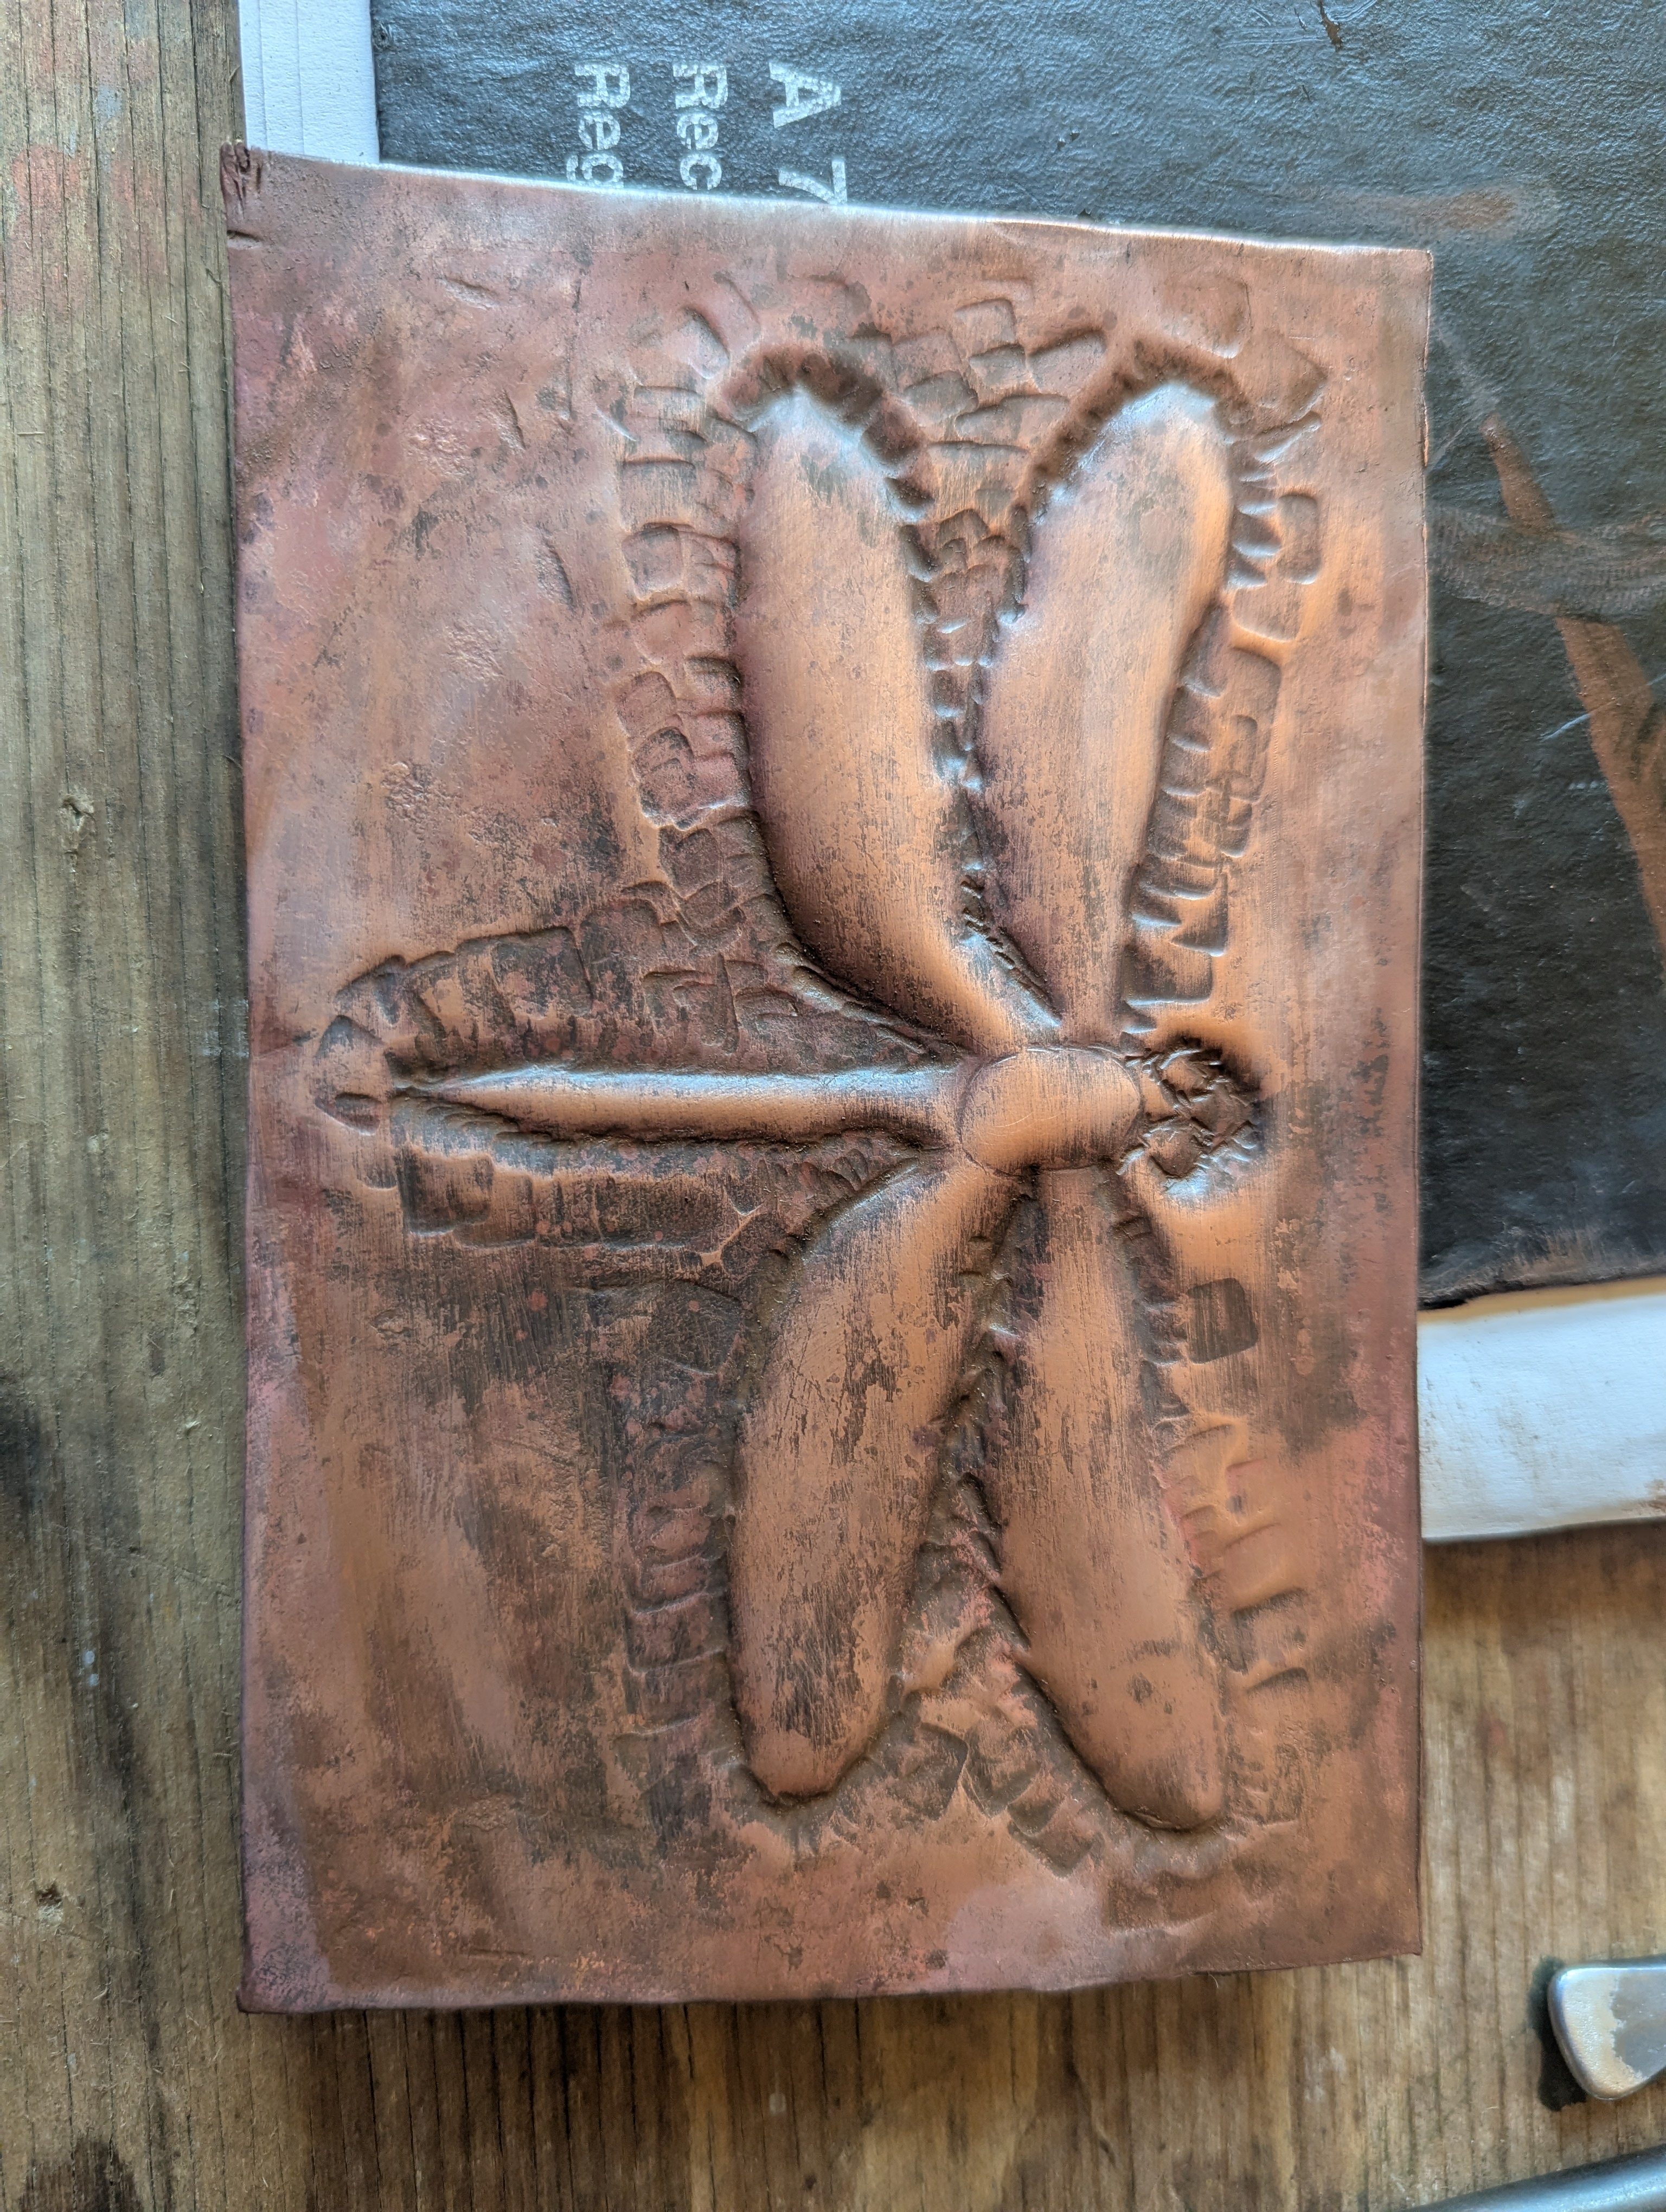
Next we needed to flip the copper over and work from the back. Heat to soften the pitch is probably required. Working from the back you can push the body of the picture down into the pitch and give it the 3rd dimension. At this point the copper is compeletely hard and will need to be annealed again.
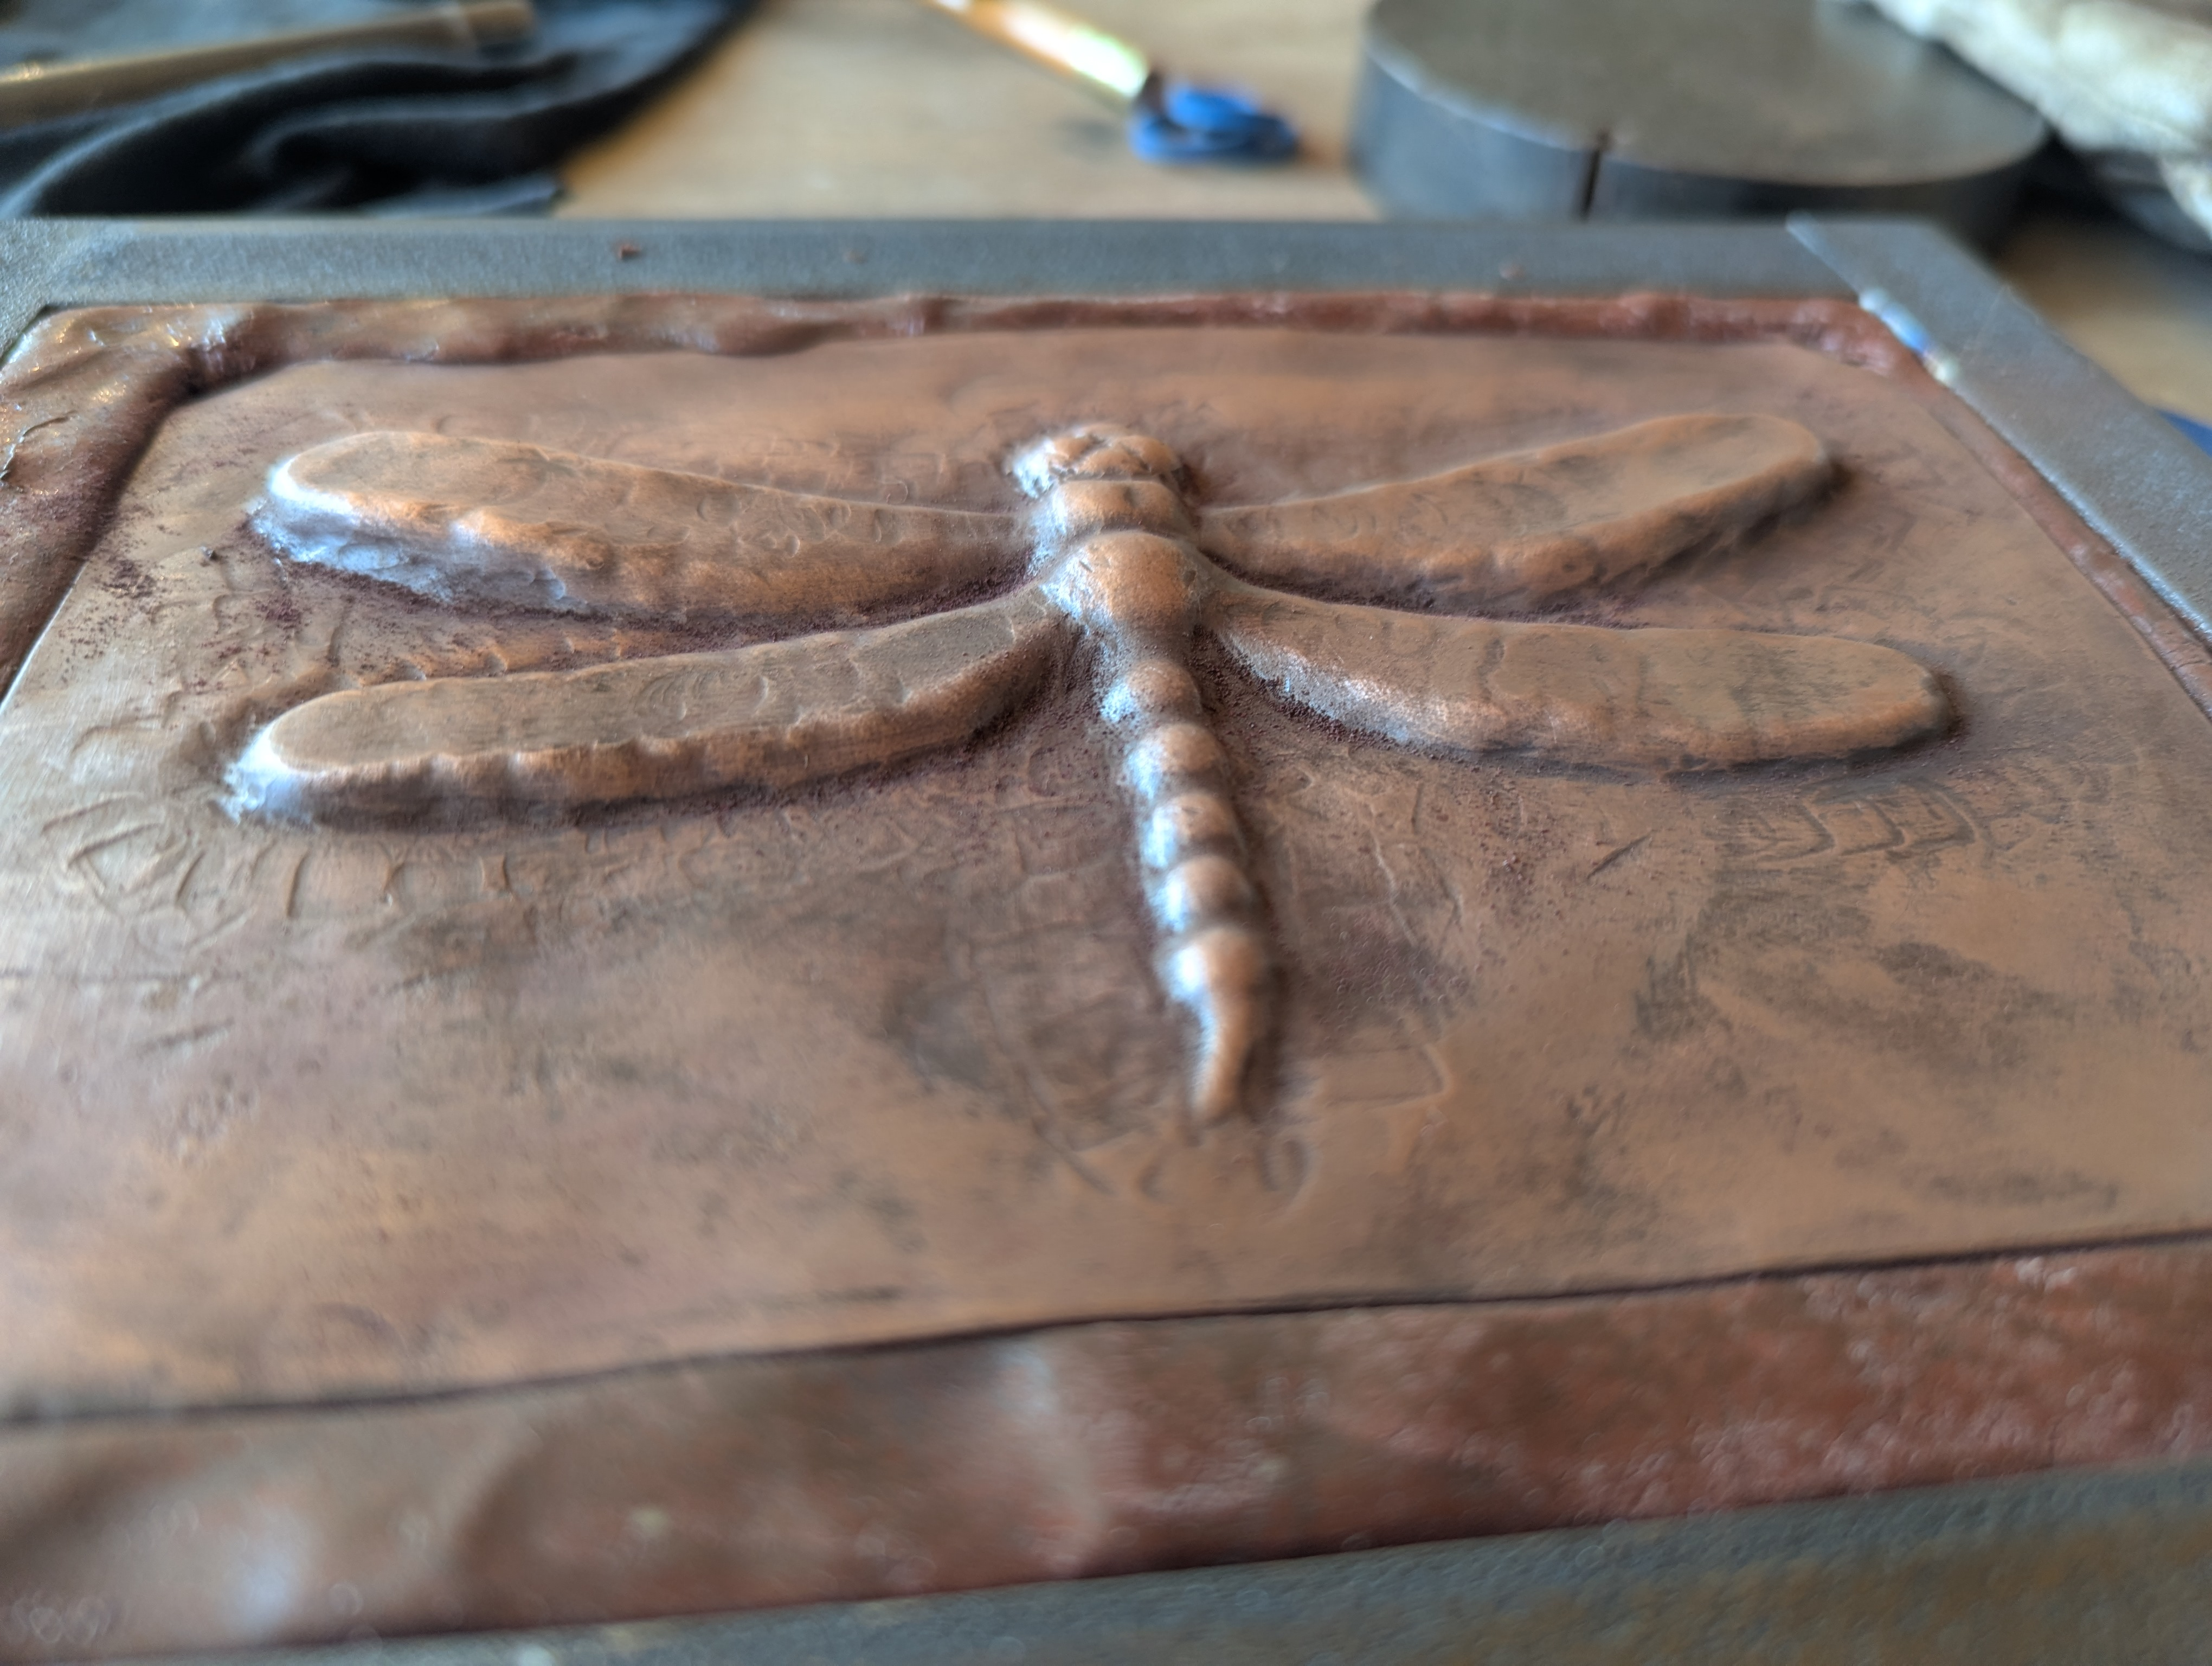
That is the basic steps, keep working various areas either from the front or the back to give it the depth and shape required. Refining the lines and cleaning it up. And annealing when required. Once it starts to take its final shape you can start adding details using all the different shaped tools.
One thing I found is that it is helpful to put your pitch tray in a toaster oven, or use a heat gun to get it to the required softness. Too soft and your whole sheet will deform, too hard and you will have trouble moving the copper.
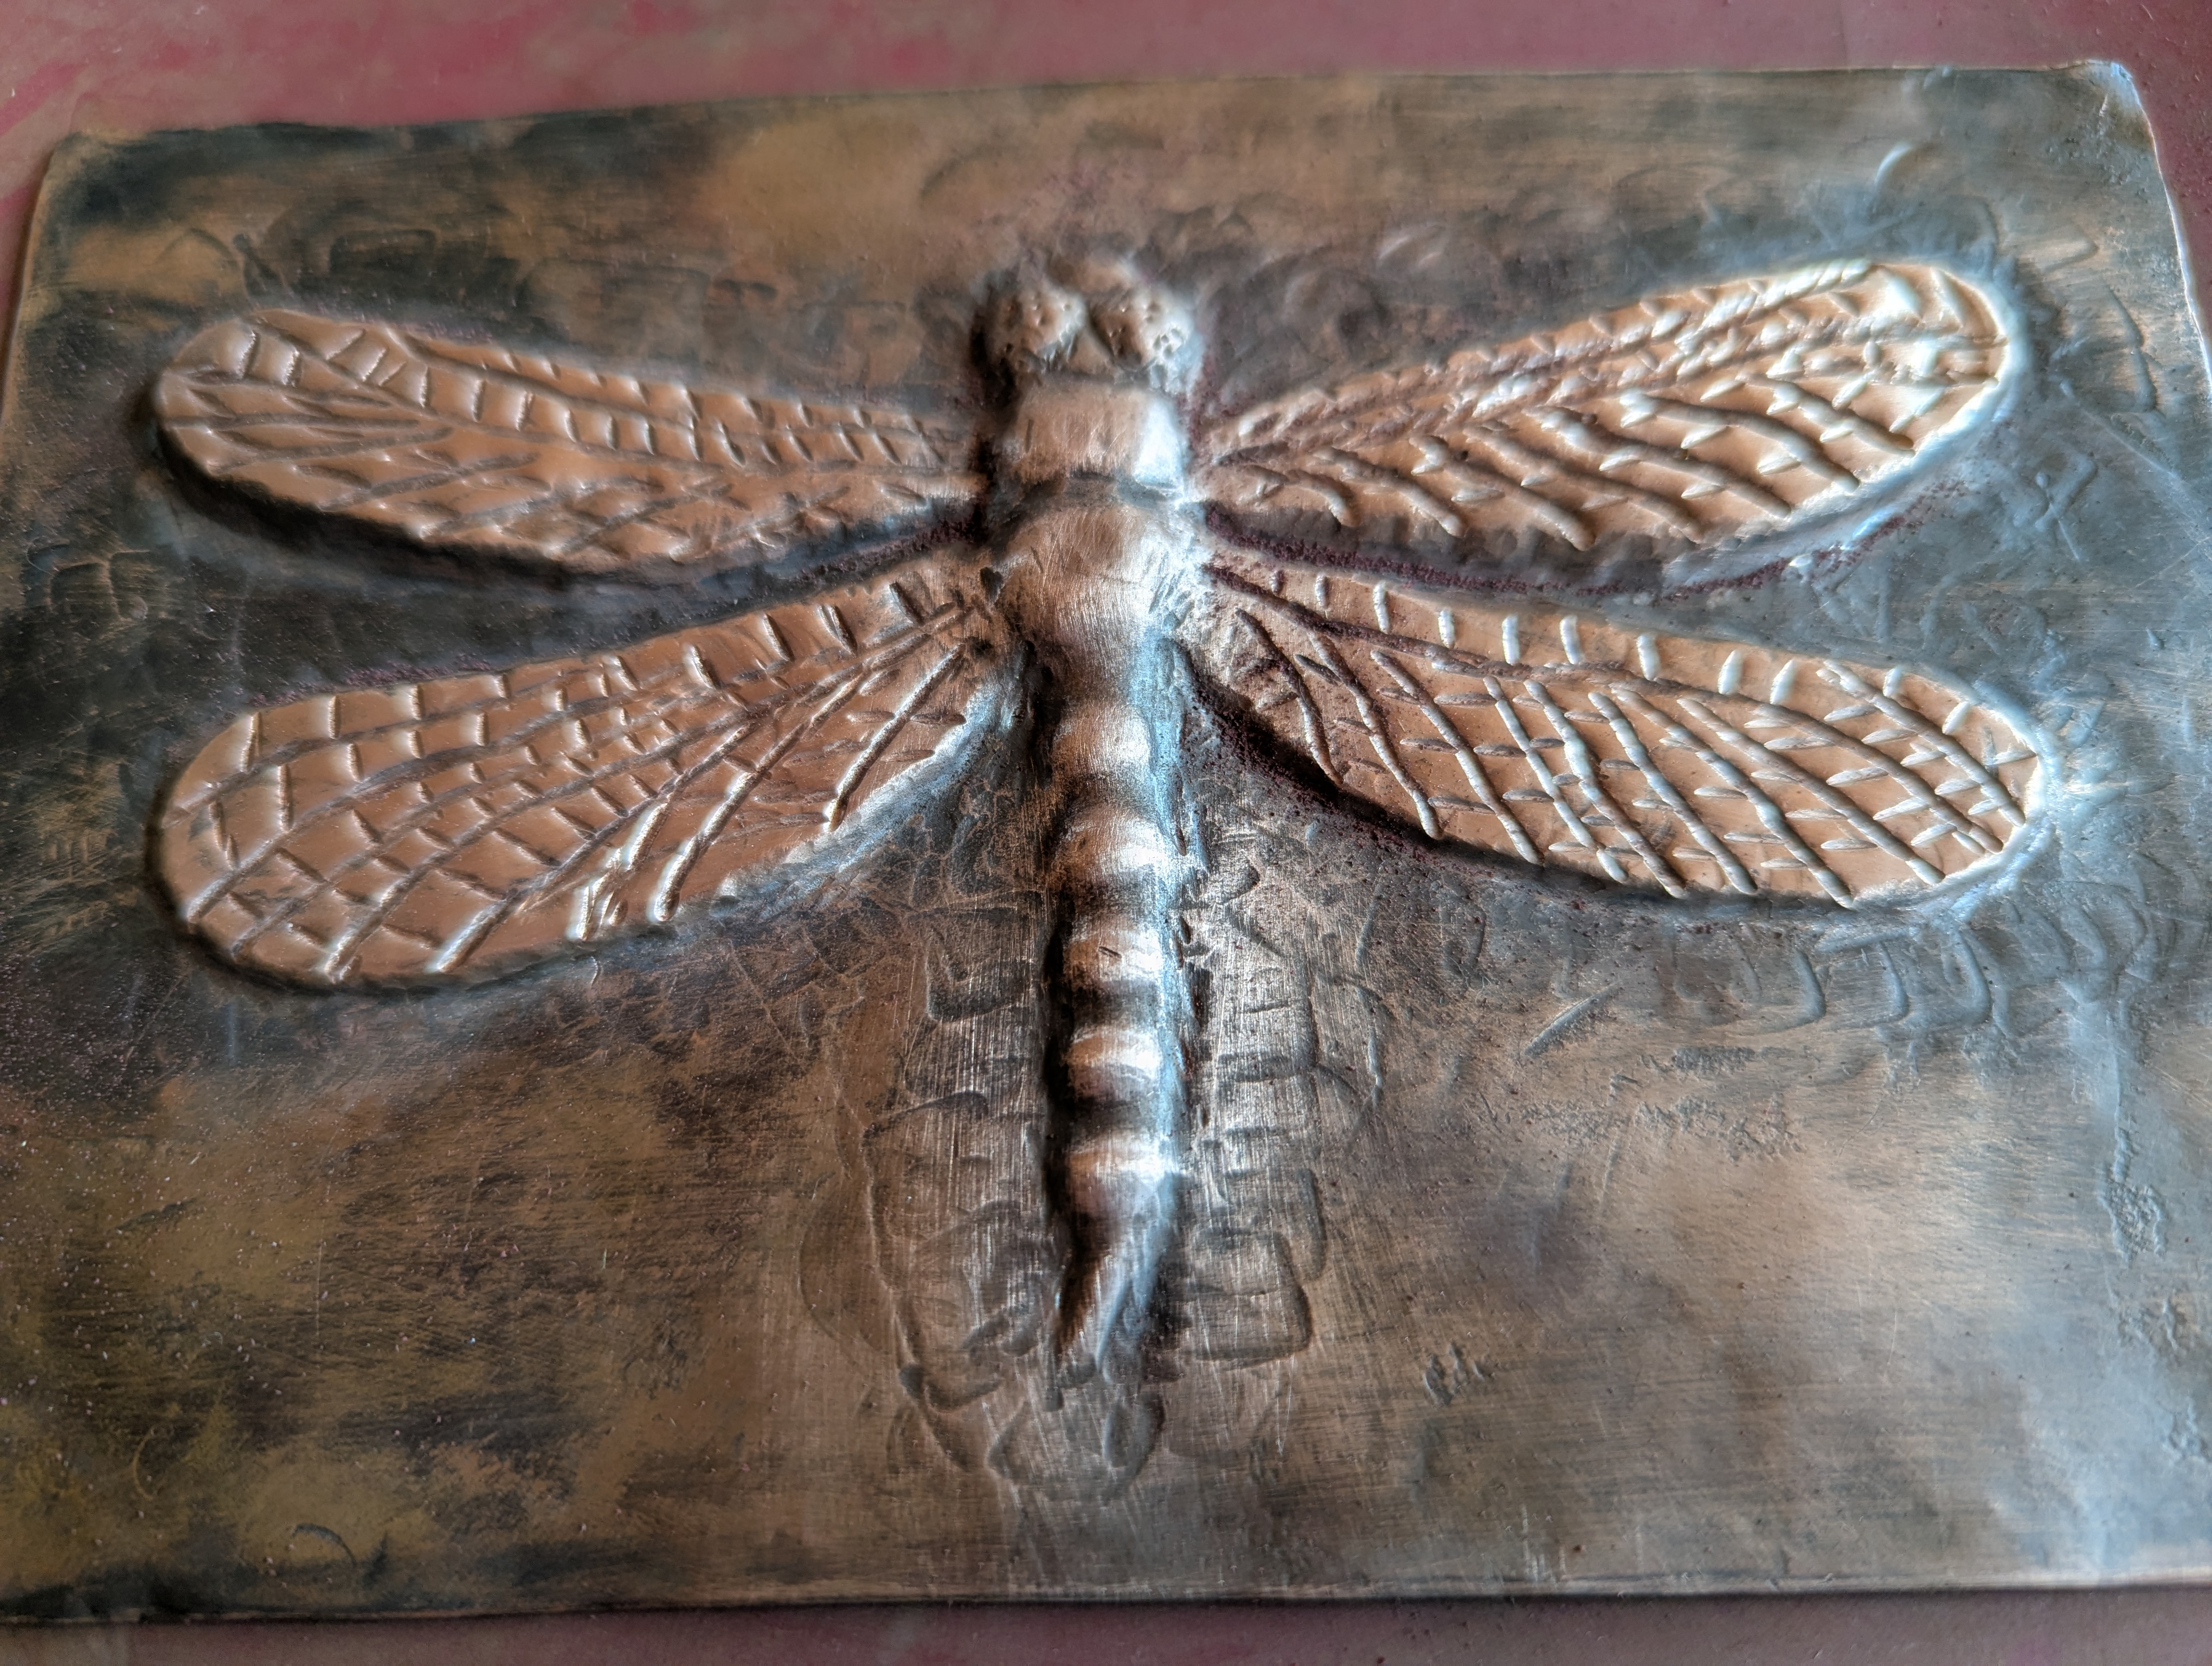
I highly recommend taking one of the blacksmithing courses when they are offered. Even if you feel you don't have the skill set, give it a try. After all everything you have ever done you had to do for a first time. Its okay not to be good at something, just have fun.
Aimie was a great teacher and helped walk us through each project. If you ever get a chance to take one of her courses do it. Aimie Botehlo She also made the cover of the 'Anvils Ring' Anvils Ring Summer 2025 Vol 53 No 3